
Imagine the satisfaction of sipping on a glass of whiskey that you carefully crafted with your own hands. In this article, we will guide you through the fascinating process of creating your very own whiskey. From selecting the perfect grains and yeast, to distilling and aging, we will provide you with step-by-step instructions and helpful tips to ensure a successful homemade whiskey endeavor.
So, grab a seat, gather your supplies, and get ready to embark on a whiskey-making adventure that will leave you with a spirit as unique as you are. Get ready to channel your inner distiller and create a whiskey that will impress even the most discerning connoisseurs.
Choosing the Ingredients
When it comes to making your own whiskey, choosing the right ingredients is essential for achieving the desired flavor profile. Let’s go through each step of the ingredient selection process.
Selecting a Base Grain
The base grain is the foundation of your whiskey and will greatly impact its taste. Common base grains used in whiskey making include corn, barley, rye, and wheat. Each grain adds its own distinct flavor characteristics, so consider your personal taste preferences when choosing.
Choosing Malted Grains
Malted grains are an important component of whiskey production as they contribute essential enzymes for converting starches to sugars during the mashing process. Barley is the most commonly malted grain used in whiskey making, but you can experiment with other malted grains like rye or wheat to add complexity to your whiskey.
Purchasing Yeast
Yeast is responsible for fermenting the sugars in the mash and converting them into alcohol. There are different strains of yeast available, each imparting its own unique flavors and aromas to the whiskey. It’s important to select a yeast strain that complements the flavor profile you wish to achieve.
Selecting Water
Quality water is crucial for producing good whiskey. Consider using filtered or distilled water to ensure any impurities or unwanted minerals won’t affect the final product. Some distillers even source their water from specific regions known for their excellent water quality, as it can impact the whiskey’s characteristics.
Considering Additives
While traditional whiskey recipes often stick to the basic grain, yeast, and water combination, some distillers choose to incorporate additives to enhance the flavor or adjust certain characteristics. These can include caramel for color, peat for smokiness, or various herbs and spices for added complexity. Experimentation with additives can be a fun way to create a unique whiskey, but it’s important to use them sparingly to maintain balance.
Mashing and Fermenting
Mashing and fermenting are essential steps in the whiskey-making process that involve converting the starches in the grains to fermentable sugars and then fermenting those sugars into alcohol. Let’s explore these processes in more detail.
Mashing Process
During mashing, the grains are combined with hot water to create a mash. This process activates the enzymes present in the malted grains, breaking down the starches into fermentable sugars. The temperature and duration of the mashing process can affect the final profile of the whiskey, so it’s important to carefully monitor and control these factors.
Preparing the Mash
Before mashing, the grains need to be properly prepared. This usually involves grinding them to a coarse consistency to facilitate better enzyme activity and sugar extraction during mashing. The ratio of water to grain, known as the mash thickness, is another important consideration, as it impacts the concentration of sugars in the mash.
Adding Enzymes
To ensure a complete conversion of starches to fermentable sugars, some distillers choose to add additional enzymes to the mash. This can be particularly useful when using unmalted grains that lack the necessary enzymes for starch conversion. However, with properly malted grains, this step may not be necessary.
Fermentation Process
Once the mash is prepared, it’s transferred to a fermentation vessel. This is where yeast is added, initiating the fermentation process. The yeast consumes the sugars in the mash and produces alcohol as a byproduct. The duration and temperature of fermentation can vary depending on the desired flavor profile, but it generally takes several days to complete.
Pitching the Yeast
When adding yeast to the mash, it’s important to ensure that the yeast is pitched at the right temperature. Too high or too low temperatures can adversely affect yeast activity and the final flavor of the whiskey. Follow the manufacturer’s instructions to pitch the yeast at the recommended temperature for optimal results.
Monitoring Fermentation
Throughout the fermentation process, it’s crucial to monitor the temperature, as well as the gravity or sugar content of the mash. This can be done using a hydrometer or refractometer. By tracking these parameters, you’ll be able to determine when fermentation is complete and when it’s time to move on to the next step.
Distillation
Distillation is the process of separating alcohol from the fermented mash to obtain a higher concentration of alcohol and refine the flavors. Here’s a breakdown of the distillation process for making whiskey.
Understanding the Distillation Process
In distillation, heat is applied to the fermented mash to boil the alcohol, which has a lower boiling point than water, and convert it into vapor. This vapor is then condensed back into liquid form to yield a higher proof spirit. Distillation allows for the concentration of alcohol and the removal of unwanted compounds, resulting in a smoother and more refined whiskey.
Preparing the Still
Before distillation, it’s important to ensure that your still is clean and in good working condition. Make sure all connections are secure, and any necessary seals or gaskets are intact. If you’re using a pot still, you may need to add copper or other materials to help remove impurities during the distillation process.
Heating the Mash
Once the still is ready, transfer the fermented mash into the still’s boiler. Apply gentle heat to gradually raise the temperature and bring the mash to a boil. It’s important to control the heating process to avoid rapid boiling or scorching the mash, which can negatively impact the flavor of the whiskey.
Collecting the Alcohol
As the fermented mash boils, alcohol vapor will rise and travel through the still. The vapor is then directed into a condenser, which cools it down, causing it to condense back into liquid form. The condensed alcohol, now known as the distillate, is collected in a separate container. This initial distillate is known as the “heart,” which contains the desired flavors and aromas.
Monitoring the Alcohol Strength
Throughout the distillation process, it’s important to continuously monitor the alcohol strength, or proof, of the distillate. This can be done using a proofing hydrometer or alcoholmeter. Collecting different fractions of the distillate at specific proof ranges allows for the desired flavors and characteristics to be retained, while discarding any unwanted compounds known as “heads” and “tails.”
Utilizing Multiple Distillation Runs
To further refine the whiskey and achieve a desired profile, many distillers opt for multiple distillation runs. Each run can help remove impurities, increase the alcohol concentration, and refine the flavors. By carefully selecting the appropriate fractions of each distillate, you can create a smoother and more complex final product.
Source: TheTechBrain AI
Aging the Whiskey
Aging is a crucial step in whiskey production that allows the flavors to develop and mature over time. The aging process imparts depth and complexity to the whiskey, making it more enjoyable to drink. Here’s what you need to know about aging your homemade whiskey.
Choosing the Right Aging Container
The choice of aging container can greatly influence the final flavor profile of your whiskey. Traditionally, oak barrels have been used for aging due to their ability to impart desirable flavors and characteristics. However, you can also experiment with alternative aging vessels such as oak chips, casks, or even glass containers. Each option will yield a unique flavor profile.
Filling the Aging Container
Before filling the aging container, it’s important to make sure it is clean and sanitized. This reduces the risk of contamination and ensures the whiskey matures without any unwanted flavors. Transfer your distilled spirit into the aging container, leaving some headspace to account for evaporation and oxidation during aging.
Determining Aging Time
The aging time will depend on various factors, such as personal preference, the type of aging container used, and the desired flavor profile. As a general rule, whiskey typically benefits from aging for at least a few years. However, frequent tasting and monitoring of the whiskey’s flavor development will help you determine when it has reached its desired maturity.
Creating Flavor Profiles with Wood
During aging, the whiskey interacts with the wood of the aging container, extracting flavors, tannins, and other compounds. The type of wood and its previous use (if reusing a barrel) can have a significant impact on the whiskey’s flavor. Experimenting with different wood varieties, such as oak, cherry, or maple, can help you create a unique flavor profile that suits your taste.
Managing the Aging Environment
The environment in which the whiskey ages can also influence its development. Factors such as temperature, humidity, and air quality can impact the rate at which flavors develop. Ideally, the aging environment should be cool, dark, and relatively humid to promote slow and steady maturation. Regularly check and maintain the conditions to ensure optimal aging.

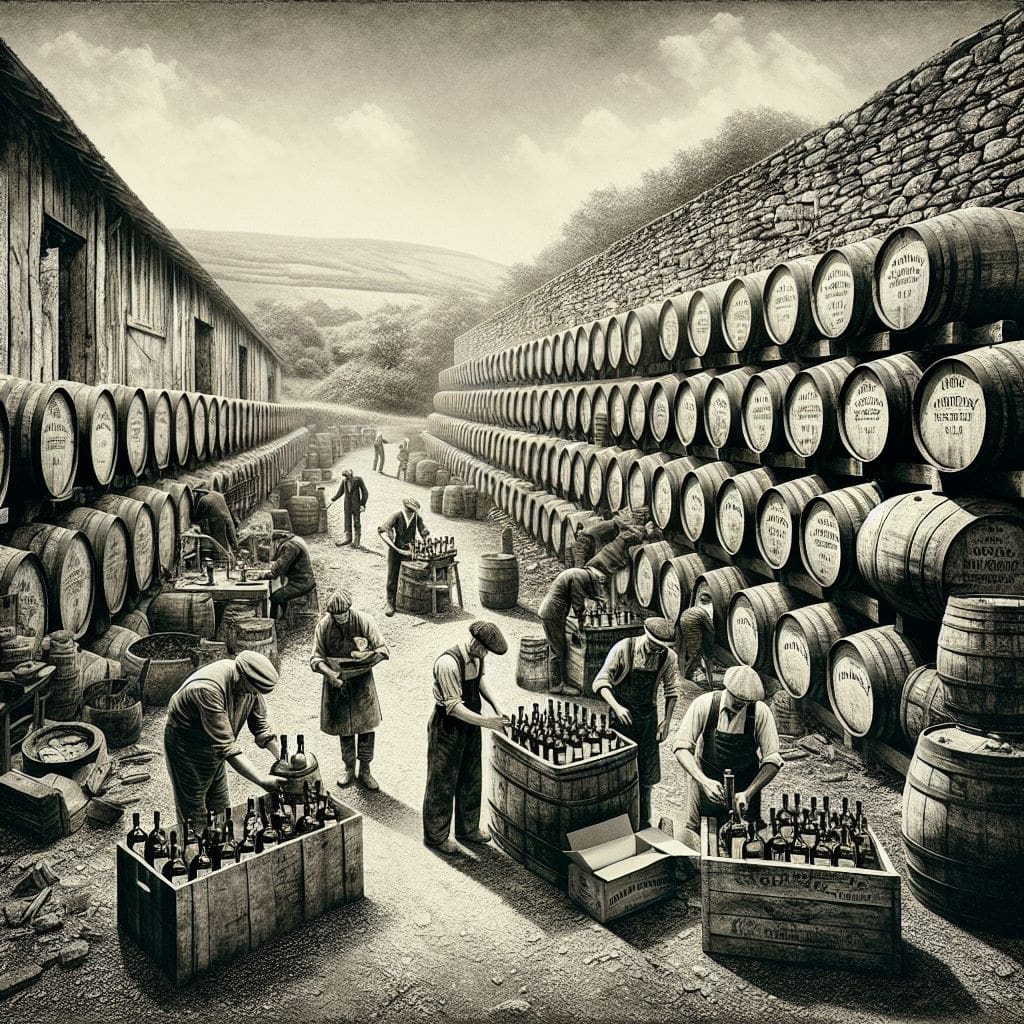
This image is property of pixabay.com.
Blending and Bottling
Blending and bottling your homemade whiskey is the exciting final step in the whiskey-making process. This is where you have the opportunity to fine-tune the flavor and prepare your whiskey for enjoyment or gifting.
Creating a Flavorful Blend
Blending different whiskey distillates allows you to create a balanced and complex flavor profile. Experiment with different ratios of distillates until you achieve the desired taste. This is where your creativity and personal preferences can shine, as you combine various distillates with distinct characteristics to craft a unique whisky expression.
Testing and Adjusting the Blend
Once you’ve blended the distillates, it’s crucial to taste and evaluate the resulting blend. Take note of any flavors or aromas that may need adjustment. You can fine-tune the blend by adding small amounts of specific distillates or even adjusting the proof by diluting with water, if necessary. Continuously tasting and adjusting will help you achieve the perfect balance.
Filtering the Whiskey
Before bottling, you may choose to filter your whiskey to remove any sediment or impurities that may have developed during aging. This can be done using activated carbon or other filtering agents. Filtering can help clarify the whiskey and improve its appearance without significantly altering the flavor.
Bottling the Whiskey
When it comes to bottling your whiskey, choose quality glass bottles that are appropriate for alcohol storage. Make sure they are clean and sterilized before transferring the whiskey. Fill each bottle, leaving a small amount of headspace to allow for expansion and contraction during temperature changes.
Labeling and Sealing the Bottles
To give your homemade whiskey a professional touch, create personalized labels that showcase the type and age of the whiskey, as well as any unique characteristics you want to highlight. Additionally, seal each bottle with a cork or a tamper-proof cap to ensure the whiskey remains fresh and to give it an added level of sophistication.
Safety Considerations
When engaging in any DIY project, it’s important to prioritize safety. Making whiskey at home involves handling flammable materials and potentially dangerous equipment. Here are some safety considerations to keep in mind throughout the process.
Understanding the Risks
Whiskey production involves working with high-proof alcohol, which is highly flammable. It’s essential to be aware of the risks and take necessary precautions to ensure a safe environment for both yourself and those around you.
Using Proper Equipment
Invest in quality equipment specifically designed for distilling and handling high-proof alcohol. Make sure all equipment is in good working condition and operated according to the manufacturer’s instructions. This includes using appropriate heating sources and ensuring proper ventilation.
Being Familiar with Local Laws
Before embarking on your whiskey-making journey, familiarize yourself with the laws and regulations regarding home distilling in your area. In many places, it is illegal to produce alcohol for personal consumption without the necessary permits. Always ensure you are operating within the boundaries of the law to avoid any legal repercussions.
Working in a Well-Ventilated Area
Since alcohol vapors are flammable, it’s important to work in a well-ventilated area or outdoors where there is adequate airflow. This helps dissipate any potentially dangerous fumes. If working indoors, consider using exhaust fans or open windows to maintain good ventilation.
Practicing Fire Safety
Given the flammable nature of alcohol, it’s important to have fire safety measures in place. Keep fire extinguishers readily accessible and make sure they are suitable for use on alcohol fires. Avoid any open flames or sparks near the distillation process and ensure a safe distance between heating sources and flammable materials.
Storing and Handling Flammable Materials
When storing your distilled whiskey or any high-proof alcohol, it’s crucial to keep it in a safe location away from heat sources and direct sunlight. Use appropriate storage containers that are designed for high-proof spirits and ensure they are tightly sealed. Additionally, handle flammable materials, such as ethanol or cleaning agents, with caution and according to safety guidelines.
FAQ (Frequently Ask Question)
Q: Can whiskey be made at home legally?
The legality of making whiskey at home varies depending on the country and region. In some places, it is legal to produce a limited amount of alcohol for personal consumption, while in others, it may require permits or licenses. It is important to research and comply with the laws and regulations in your area before attempting to make whiskey at home.
Q: How long does it take to make whiskey?
The time it takes to make whiskey can vary depending on the recipe and aging process. From mashing and fermentation to distillation and aging, the entire process can take several weeks to several years. The aging process alone typically takes a minimum of a few years to develop the desired flavors and maturity.
Q: What are the basic ingredients required for making whiskey?
The basic ingredients for making whiskey include a base grain such as corn, barley, rye, or wheat, malted grains for enzyme activity, yeast for fermentation, and water. These ingredients form the foundation of the whiskey, and additional additives can be used to enhance the flavor profile if desired.
Q: What is the difference between malt whiskey and grain whiskey?
Malt whiskey is made predominantly from malted barley and is known for its rich flavor and aroma. Grain whiskey, on the other hand, is made from a mixture of malted and unmalted grains such as corn, wheat, or rye. Grain whiskey tends to be lighter and more neutral in flavor compared to malt whiskey.
Q: How can I speed up the aging process of homemade whiskey?
The aging process of whiskey is influenced by time, temperature, and the interaction with the wood of the aging container. While there are no proven methods to speed up the aging process, you can experiment with smaller aging containers, higher temperatures, and utilizing different wood varieties to potentially accelerate the flavor development. However, be aware that the quality of the whiskey may be compromised in the process.
Q: What equipment is needed to make whiskey at home?
To make whiskey at home, you will need several pieces of equipment, including a mash tun or large pot for mashing, a fermentation vessel, a still for distillation, measuring tools such as hydrometers or refractometers, aging containers, and bottles for storage. It’s important to invest in quality, purpose-built equipment to ensure a safe and successful whiskey-making process.
Q: Can oak chips be used to age homemade whiskey?
Yes, oak chips can be used to age homemade whiskey and impart flavors similar to those achieved through traditional barrel aging. By adding oak chips to the whiskey and allowing them to infuse over time, you can enhance the flavor profile and achieve a similar effect to barrel aging. However, it’s important to use oak chips that are specifically design for aging spirits.
Q: Can homemade whiskey be sold?
In most jurisdictions, selling homemade whiskey is illegal without the proper permits and licenses. The production and sale of alcohol are heavily regulate in order to ensure safety and quality. If you’re considering selling your homemade whiskey, it’s crucial to research and comply with the legal requirements of your area before proceeding.
Conclusion
Making your own whiskey can be an incredibly rewarding and creative endeavor. From selecting the right ingredients to aging and bottling, each step in the process offers an opportunity to experiment and develop your unique whiskey expression.
Remember to prioritize safety, comply with the relevant laws and regulations, and enjoy the journey of crafting your own personalized whiskey that you can proudly share and savor with friends and family. Cheers to your homemade whiskey-making adventure!